Showing posts with label kristi bowman designs. Show all posts

Friday, October 5, 2012

Artisan Whimsy Metal Clay Team Giveaway

A very exciting day today,
The launch of the brand new Artisan Whimsy site.
If you create Handmade Artisan Jewelry or Components of any kind this is your place to be!!
AND
The new Metal Clay Team within the site.
Today is the big Lauch Party.
I'm giving away a couple of items go to my Blog Post HERE and leave a comment to win!!!


Click
 HERE
to comment for your chance to win one of these beautiful Copper Components.

Kristi


Wednesday, June 22, 2011

BTW...Everybody Loves Ammonite!

This is the closest I've ever come to production mode. The Ammonite texture is by far the most popular component I've made so far and although I have done some different shapes for some reason Square is the one everybody goes for. I have always loved Ammonite and I think I love these square ones as much as everybody else. I have 4 pre-orders and I'm going to fire an entire batch of just Ammonite Squares so I have enough to satisfy everybody for a little while, that's the plan anyway.

Here's what's on my Bead Table, technically not beads but they are a perfect match to so many beads!!


Please go to the BTW Page on Flickr to see what everybody has going on today!

Kristi

Wednesday, May 25, 2011

Glass and more Glass

 Here are some of the gorgeous Glass Beads I've collected over the last month or so, hard to choose a favorite.

Ammonite Glass Beads by MyLampworkGarden

Raku Black and Gold by CottageCove


Secret Powers by CatalinaGlass


Dragons Breath by CatalinaGlass


Etched Turquoise by FerrariOriginalBeads


3 sets of Orphans by SilverFishDesigns

Gorgeous set all the way from Spain by MruMru

2 pair, also by MruMru
I was very lucky shipping time was just over 2 weeks!


These aren't glass but I had to share them,
Carved Floral Woodland Bone Beads from SharonUnlimited


Look for these amazing beauties in future designs!


Kristi
http://dreamsome.etsy.com/
http://www.artfire.com/users/KristiBowmanDesign


Saturday, May 14, 2011

Copper in the Tumbler

Copper out of the kiln tonight and in to the tumbler. It looks so gnarly right out of the kiln sometimes, I LOVE IT!!! But soon it will be shiny and ready for me to take the torch to it and bring out all it's lovely brilliance!!


New and old textures, trying some textures you've seen on some new shapes, always tweaking just a bit to see what looks good. And of course more of what seem to be your favorites, which makes me very happy!

Watch for photos and listings in my Etsy Shop throughout the weekend!

Kristi

Saturday, April 30, 2011

Packaging

Lately I've really been trying to come up with some packaging that I think has some WOW factor but isn't too expensive or time consuming. I'm really liking what I'm working on right now and of course in the creative stages it's very time consuming but I think I've got it so as time goes by I will streamline the process and I think it looks fantastic!

First find some amazing heavy paper or card stock, there are so many choices out there thanks to Scrapbooking at Michaels and Paper Zone and Joanne's and all those other crafty stores. I in fact had a terrible time buying only a few, I bought more than I should but they are all so amazing!

Here's a couple of the ones I chose, in different sizes...


Whatever choices you make, you want to start with a square. Find or create a rectangle that fits in the center of the square similar to what you see below, cut notches at each corner. One thing I've discovered, if you cut the notches just a little bigger than 90% they lay much nicer and look finished. I've made templates out of heavier stock that I use to lay on top of the actual decorative paper and cut the notches out of 2-3 pieces at a time.


Once the notches are cut, from the inside, take a ruler or some rigid object across the notches and score the flaps so the corners over lap in the center. I've made some larger ones that I can put jewelry pieces in and much smaller ones for components.


Slip the items inside (wrap with tissue paper and/or foam wrap for protection first) and tie with yarn or raffia or you can use a sticker to close them. I'm contemplating adjusting the design a bit so I can put a hold at the closing flap and tie something all the way through to really secure it well.


 I think they turn out so beautiful considering how really simple they are and hopefully will surprise and impress whoever opens them on the other side. Just a little something extra, which can mean so much!


Kristi

Tuesday, April 26, 2011

BTW April 27, 2011

This time I finally got to this early, I've missed the last couple of times when I wait for Wednesday. I have quite a load of bronze components ready to be cleaned up, shaped and holes put in them, then they'll get tossed in the kiln and fired. I'm hoping maybe some night this week so they are ready to start listing Friday and in to the weekend.

I got some new and different Sea Urchins so I've been having fun pulling textures off of them and figuring out how to make different shapes and patterns. I do love them, the texture is just wonderful!

I'm also learning to make multiples of what seems to be your favorites, I'd love to keep my shop stocked with them all the time if possible.


Ammonite Rounds, Sea Urchin Ovals, new Sea Urchin squares and long squigglies, 2 different Sea Urchin rounds and top right I tried to add touches of copper to the Mod Circles Round.


Here's a close up of one of the new larger Sea Urchin Rounds, and 3 pair of Paisly Squares.


Love the Sea Urchin Squares and long squigglies (need to think of a name for those) and the new Sputnik Sea Urchin rounds center bottom.


Yet one more view, I'm really pleased with this batch!

Look for them by Friday (I hope) and throughout the weekend in the DIY Section of my Etsy Shop.

And check out all the other artists participating in BTW on Flickr


Kristi

Sunday, April 3, 2011

The Process of Copper Metal Clay

Here is today's copper firing, basically from start to finish. There can be variations in the firing schedule of pmc, this is the one I've been using on my Copper work and it's worked well for me.

Here are the pieces all molded and shaped and filed and ready for the kiln.


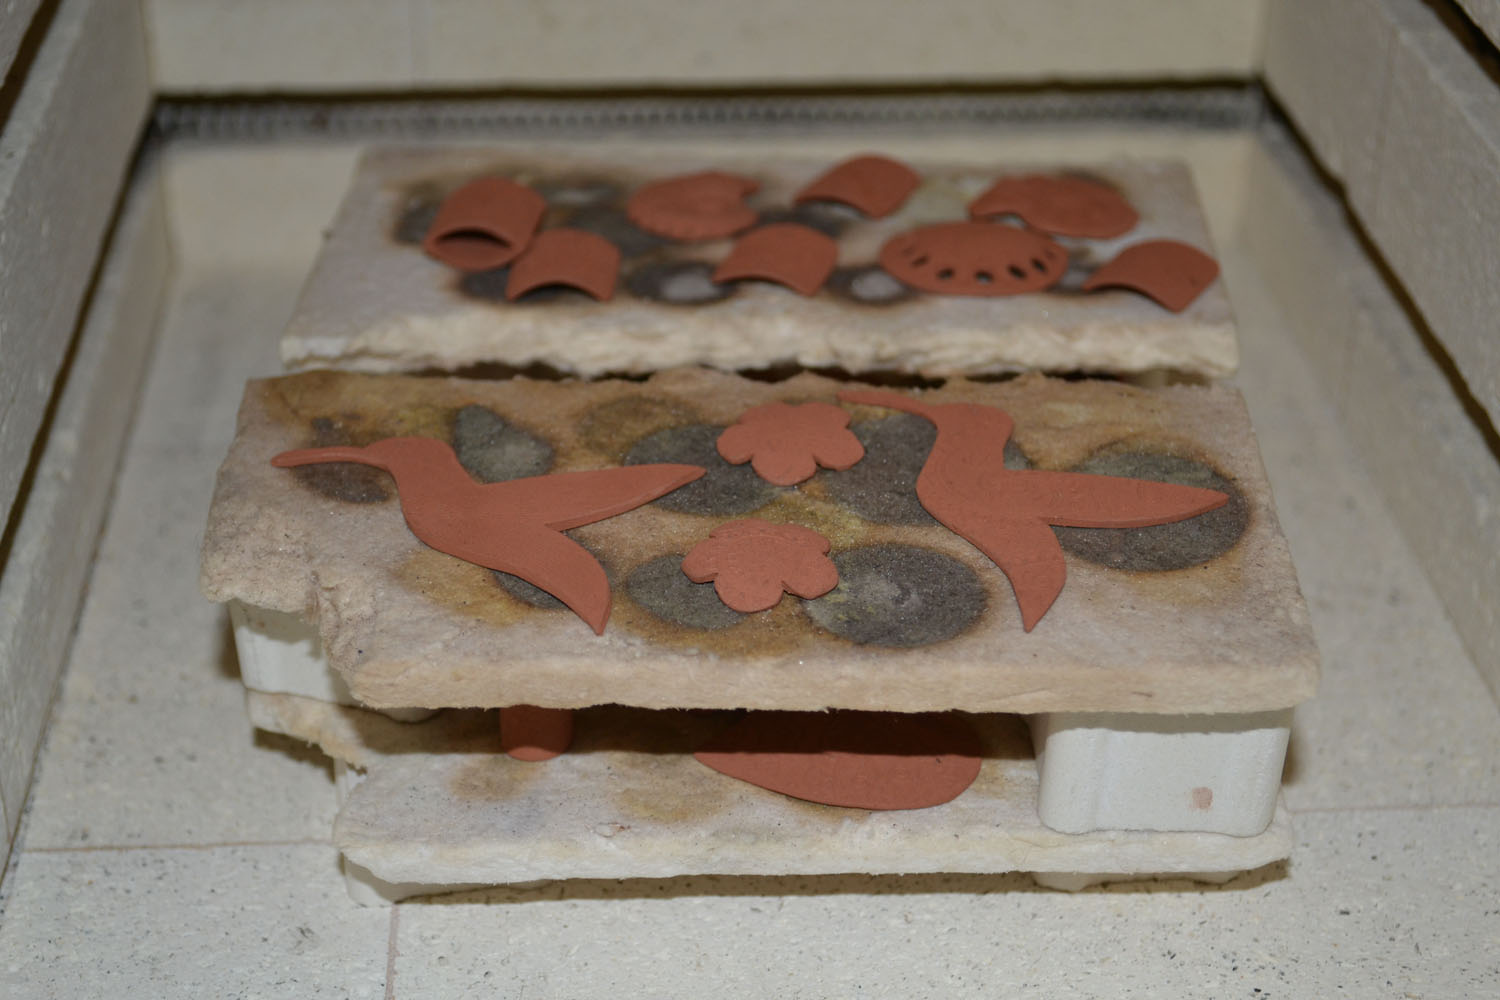
First phase of firing is open shelf, 15 minutes at about 650 degrees.


This is what they look like after open shelf firing. All the black stuff comes off during the second Phase.


Then they get packed in Carbon for the second phase, 1700 degrees for about 3 hours.
Here they are all layered in the carbon and loaded in to the kiln.


3 hours later...


I let the container cool off to under 500 degrees before I attempt to remove it. Then I let it sit until it's much cooler. Below it's still hot enough I need to use my heavy duty welding gloves to handle it.


There they are peeking out of the carbon when I pour it out of the container.


Used my gloves and a metal spoon to start to unearth the pieces. Everything cools off rather quickly from here and by the time I've found the large pieces I can usually start using my bare hand to find the smaller ones. There are usually one or 2 that don't want to be found, so when it's completely cool I sift them through the slotted spoon back in to the container and find the stragglers.

Then...


And then...


Some of them are just about perfect out of the kiln, just a little brushing and they are good to go. Some need to be tumbled for awhile and then I usually take a torch to them to give them lovely variations in color.

So there ya go, approximately 7 hours later I have some pretty Copper goodies, not counting the time it took to get them ready for the kiln. Copper and Bronze are not quick processes.


Then some of them get listed on Etsy!


Like this Large Paisley Flower Pendant

To see all the components I have listed click the link below

I'll be listing these over the next few days, or using them to create my own jewelry designs.

Kristi


Tuesday, March 15, 2011

New Bronze in process

More new Bronze pieces in the works. I am so enjoying this most recent texture I'm working with, in my opinion everything with this texture is so beautiful. It's what I am calling Victoriana. One thing I have not made yet are buttons, would people be interested in Bronze buttons?

Anyhoo, here's what I've got going, including a Lentil or Saucer Bead. Started out as a pair of components for earrings and I suddenly envisioned putting them together for a Lentil and it's so pretty. They are all still in the rough stages, need cleaned and filed and holes put in them but I couldn't wait to show them off!


Above is the Lentil.


And here are flowers (look at those adorable flowers!!!), and leaves and rounds and a big heart.


And another view of most of the goodies!

I am going to be SO EXCITED to start the kiln up, I have enough for a full load.
 Will probably have to wait for the weekend unfortunately, but you never know!!

Kristi


Thursday, March 10, 2011

Seeing Stars!!

And flowers...

I've been waiting to get my new order of QuickFire Bronze which arrived yesterday. So, of course, as soon as I got home from work I opened it up and played!!

I have an order for a bunch of stars so that was first on my agenda, I think I made too many so I hope others are interested in using pairs of stars in their future designs.


 Keep in mind all the pieces in these photos are in the very first stages, they still need to be sanded and shaped and holes put in them and then fired. Lots of work ahead for me. I hope to have them ready to list over the weekend.


Flowers also seem to be a favorite so I made several with starburst pattern in the center, a pair with single hole and a pair with 2 holes. Also did a flower with a flower pattern stamped in the middle. And a bunch of round pieces with a variety of patterns.


I'm also going to start creating larger pieces to use as connectors or larger focals with a variety in size shape and number of holes. This is my first one.


I also just listed some Silver Components I made some time ago, cute little Leaves and Flowers.


Thanks for taking a look at what I've got going on in my Studio.

Kristi

Friday, March 4, 2011

Happy Birthday to me, giveaway for you!!!

First I'm going to share the work of fellow Jewelry Designer Janet Miller of PinkPoppyStudio on Artfire, she was among the first to purchase some of my new components and she made beautiful things happen with them.

First she made my rustic little Sun Charms soft and feminine by combining them with Luminous Periwinkle Blue Chalcedony!
Just gorgeous!!


Then she took these sweet Bronze Flower charms and paired them with one of my favorite color combinations of Turquoise Magnesite and bright orange Carnelian.


I really love seeing my charms used by other wonderful designers, thank you Janet!

Now I know you've been waiting for the giveaway. Here it is!! Leave a comment and let me know which prize you would prefer for one entry, if you Blog about it, post it to FB or Twitter leave a 2nd, 3rd and 4th comment showing that you have done so for as many as 4 entries. I will draw randomly on Sunday afternoon. Please be sure your contact information is included, I'd hate to have a winner that I have no way of contacting!!

If you are the winner you can choose from 2 sets of available components from my Etsy Shop to use in your own designs OR these earrings made with Bronze Components and beautiful Lampwork Beads by Kelley's Beads Studio. **To clarify, the earrings below are part of the giveaway, the earrings above belong to Janet and are for sale in her Artfire store. Some of the comments sounded like some of you thought the above earrings were part of the giveaway. AND I'm getting entries with no contact info and I'm unable to view profile, so be sure I can get ahold of you if you win!!


GOOD LUCK!

Kristi
http://dreamsome.etsy.com/
http://www.artfire.com/users/KristiBowmanDesign

Wednesday, January 26, 2011